How to enable Ozeki SMS Client permissions
To successfully run the Ozeki SMS Client, users must first enable the necessary permissions that allow the application to send and manage messages through the Android SMS Gateway. This step is a critical part of the installation process, ensuring that the client can integrate seamlessly with applications and deliver reliable SMS communication. The guide provides a quick walkthrough, supported by a short instructional video, to help users configure permissions with ease and meet system requirements for smooth operation.
Allow video permission
When prompted, grant the app access to use your device’s camera and video features. This ensures the client can handle multimedia messages. Confirm by tapping 2While using the app."


Allow notifications
Enable notifications so the Ozeki SMS Client can alert you to incoming messages. This keeps you updated in real time. Select "Allow" when asked.

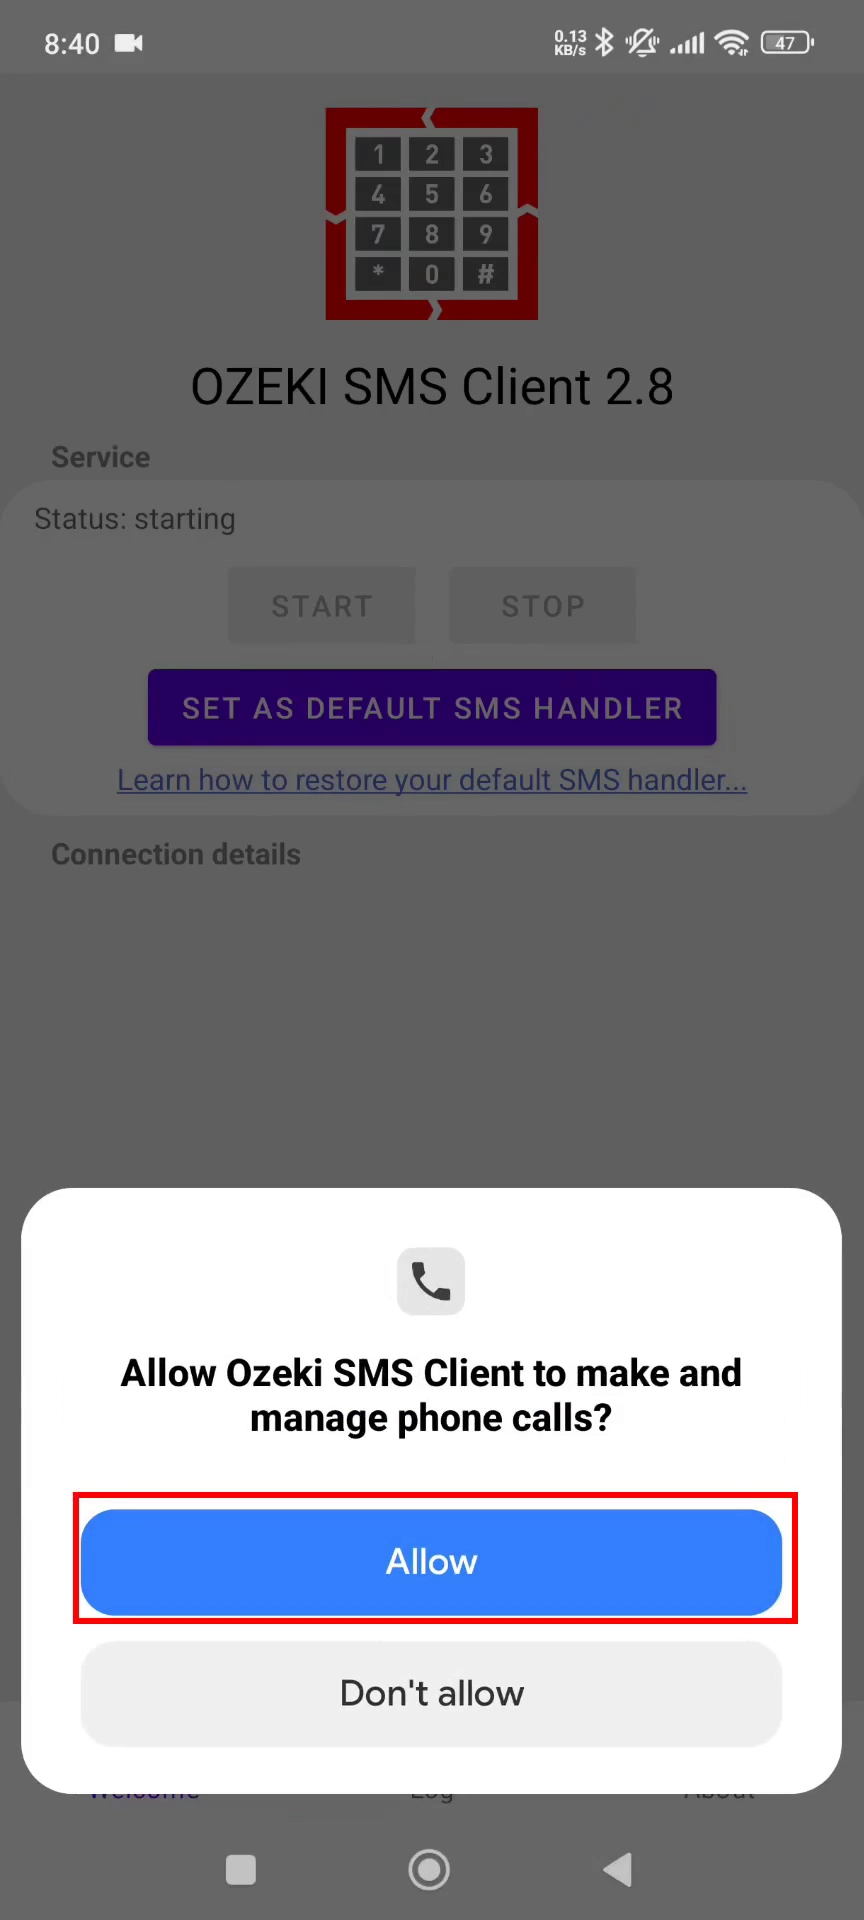
Allow phone calls
Give permission for phone call access, which is needed for SMS integration with your device’s telephony. Tap "Allow2 to continue. This step ensures smooth communication.
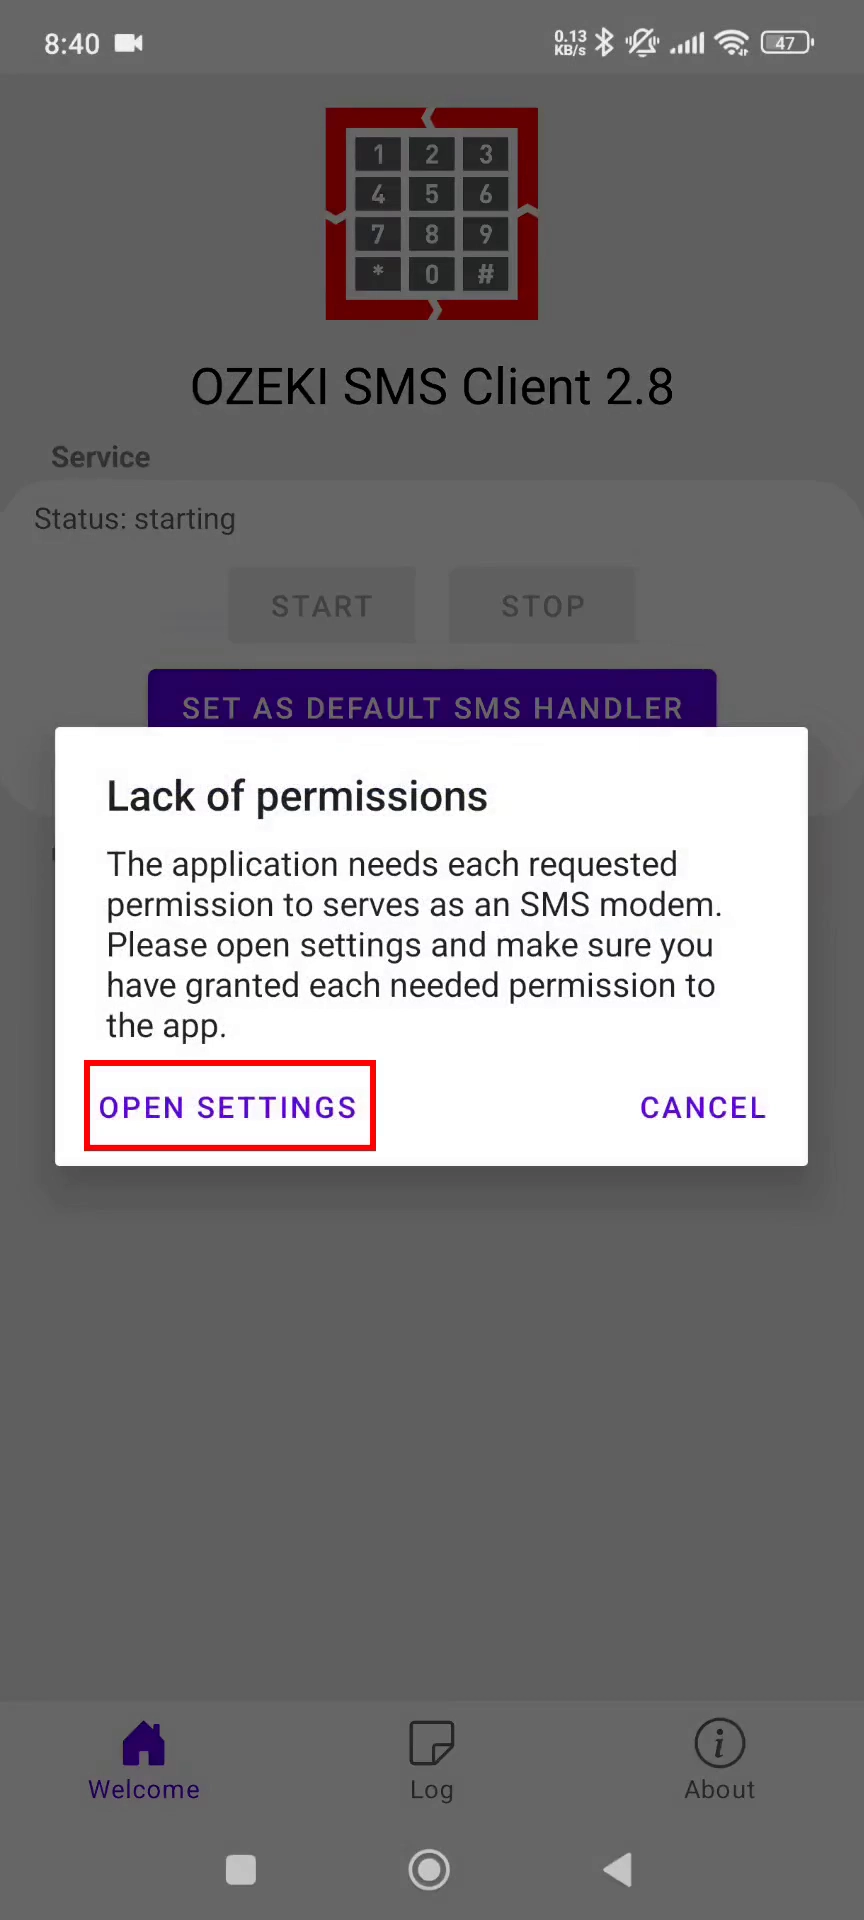
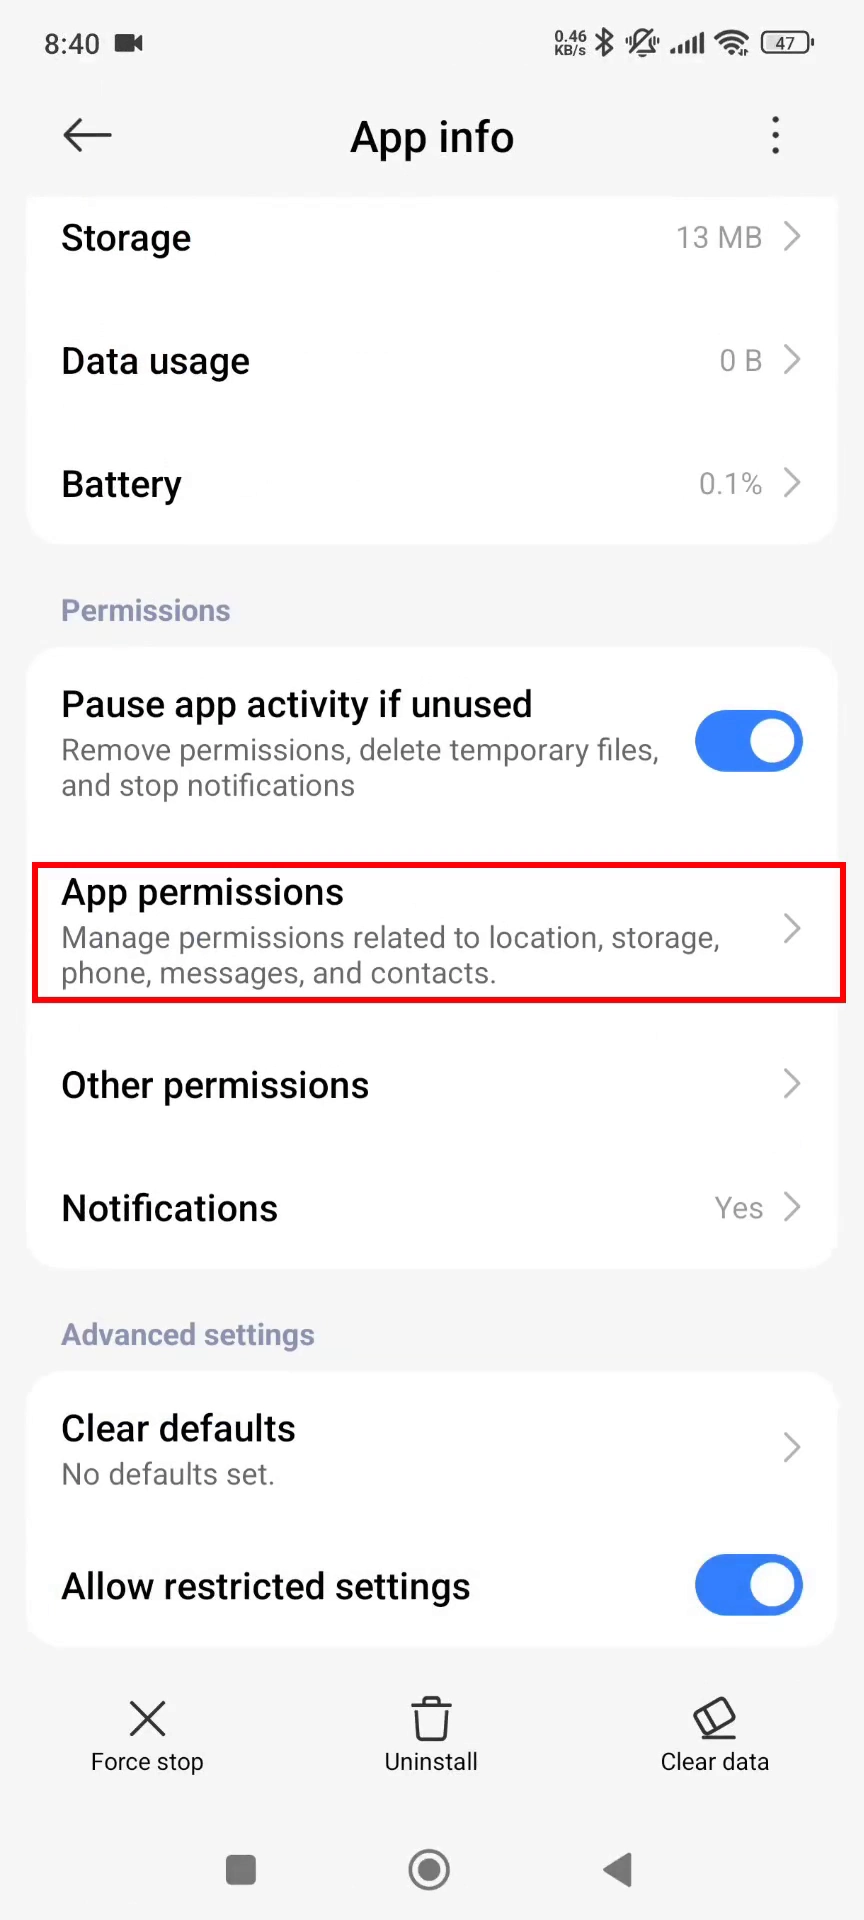
Open permission settings
Navigate to your device’s app settings and locate the Ozeki SMS Client. Open the permissions menu to adjust access. This prepares you for enabling SMS rights.
Allow restricted settings
Some devices require you to explicitly allow restricted settings. Toggle this option on for Ozeki SMS Client. This ensures the app can function without limitations.
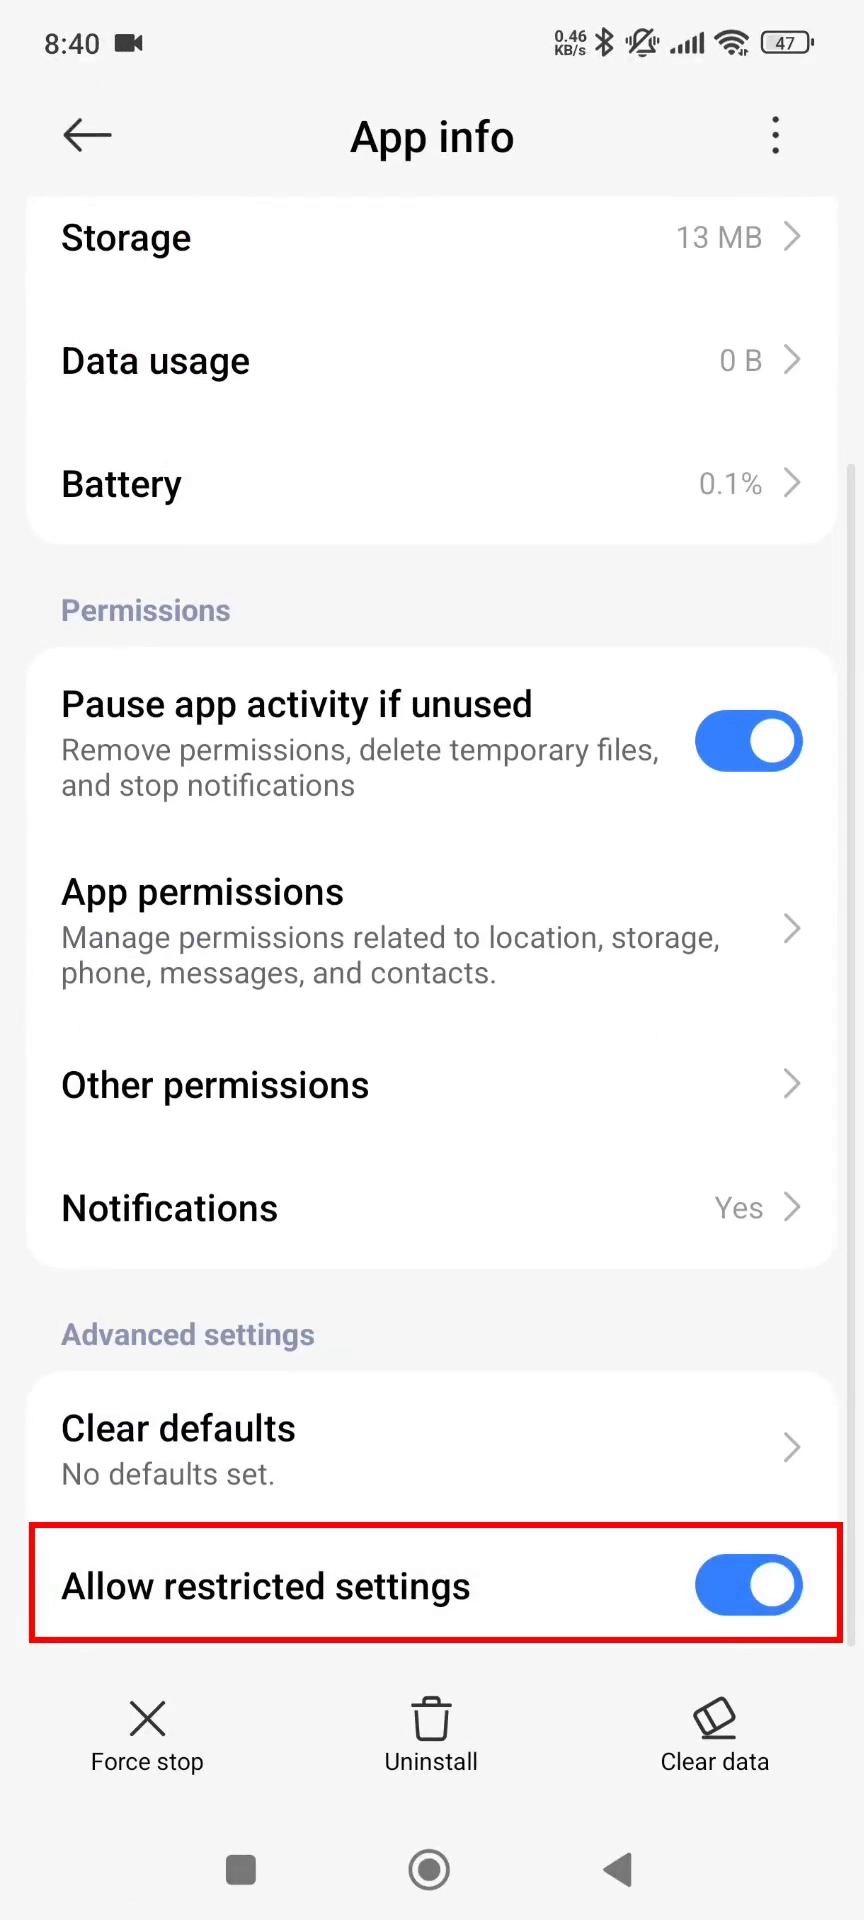
Note that once you have granted this permission, the ‘Allow restricted settings’ option will disappear from the menu, which is normal behavior. If you need to see this option again (for example, if something went wrong during the first setup), completely uninstall the Ozeki SMS Client app from your phone and then reinstall it. After reinstalling the app, the ‘Allow restricted settings’ menu item will appear again, so you can repeat the permission setup process.
Open app permissions
Within the app settings, tap on "App Permissions." This section lists all access categories. You’ll need to adjust SMS permissions here.
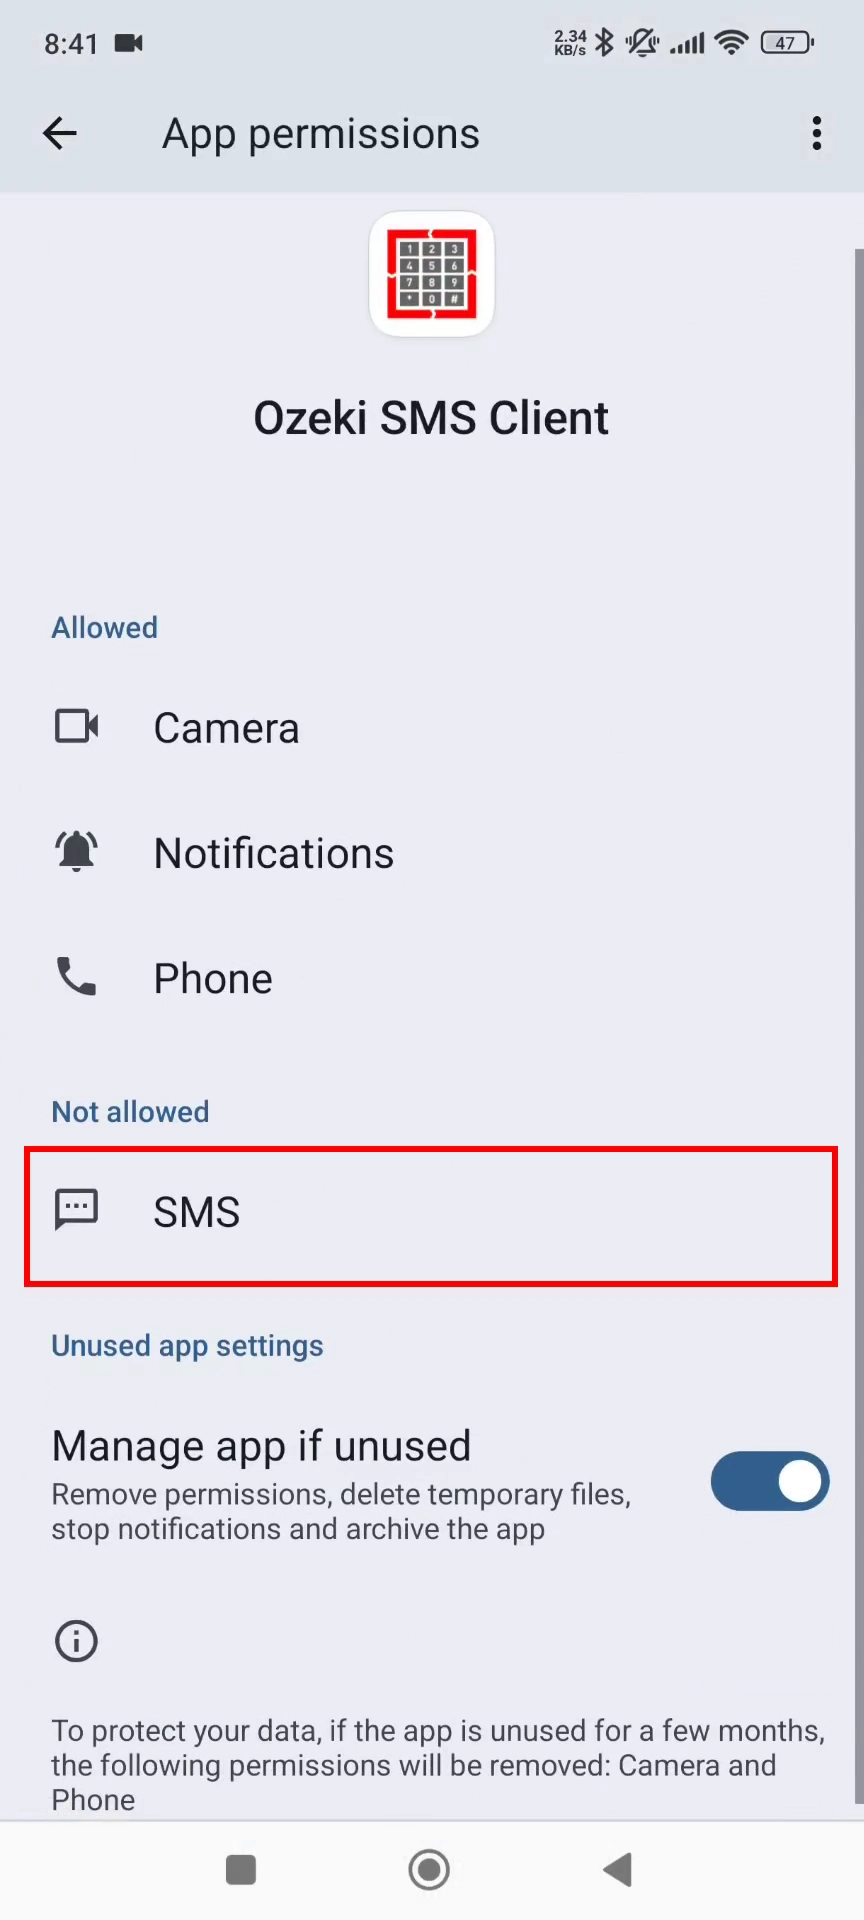
Select SMS permission
Find and select the "SMS" category from the list. This is the critical permission for sending and receiving text messages. Tap to open its options.
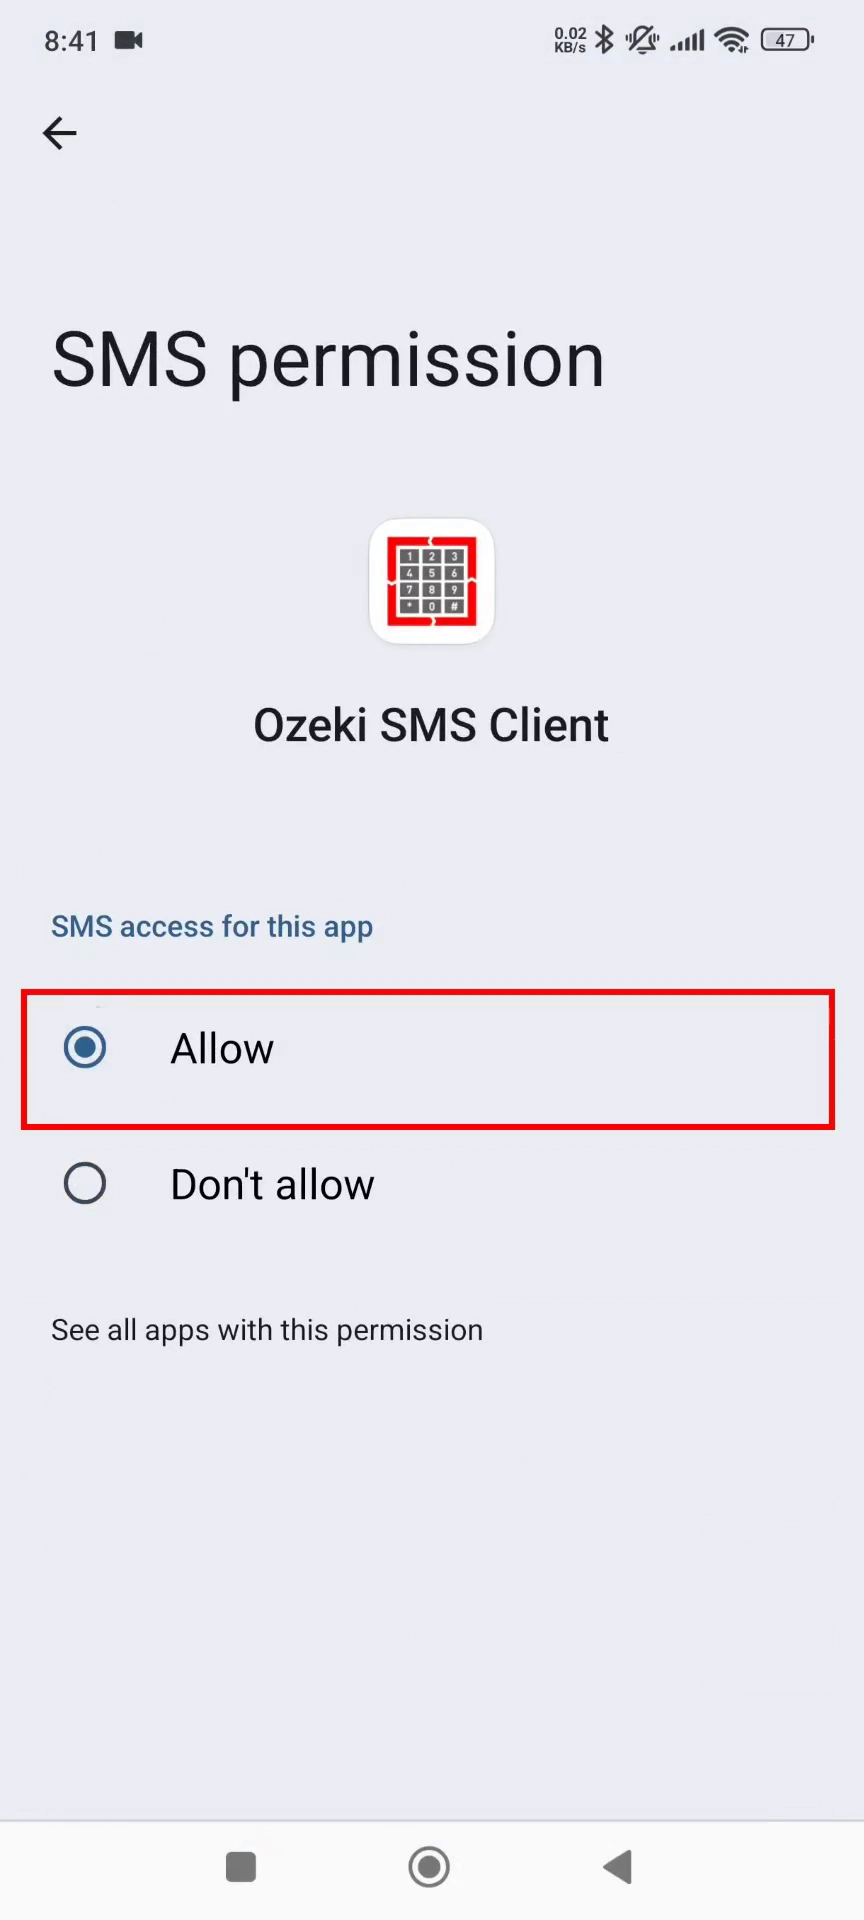
Allow SMS permission
Switch the SMS permission to "Allow." This grants the client full access to handle text messaging. Confirm your choice to proceed.
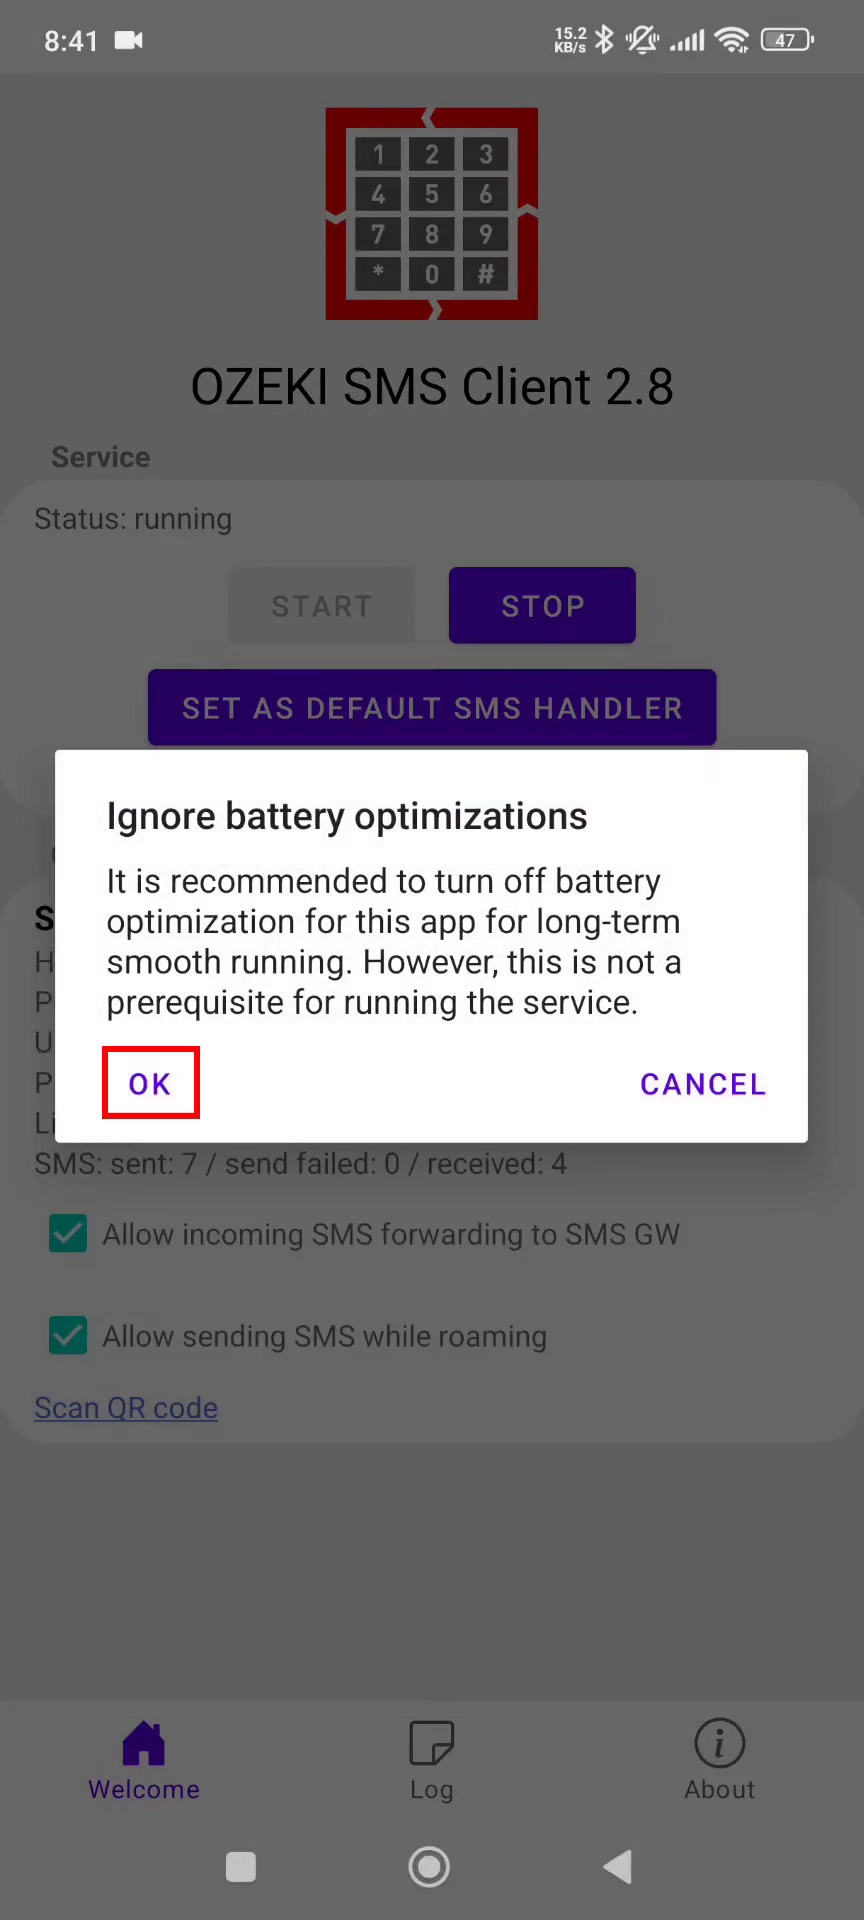
Ignore battery optimization
Disable battery optimization for Ozeki SMS Client. This prevents the system from restricting background activity.
Select no restrictions
In the battery settings, select "No restrictions" for the app. This ensures messages are delivered without delay. Confirm the setting to lock it in.

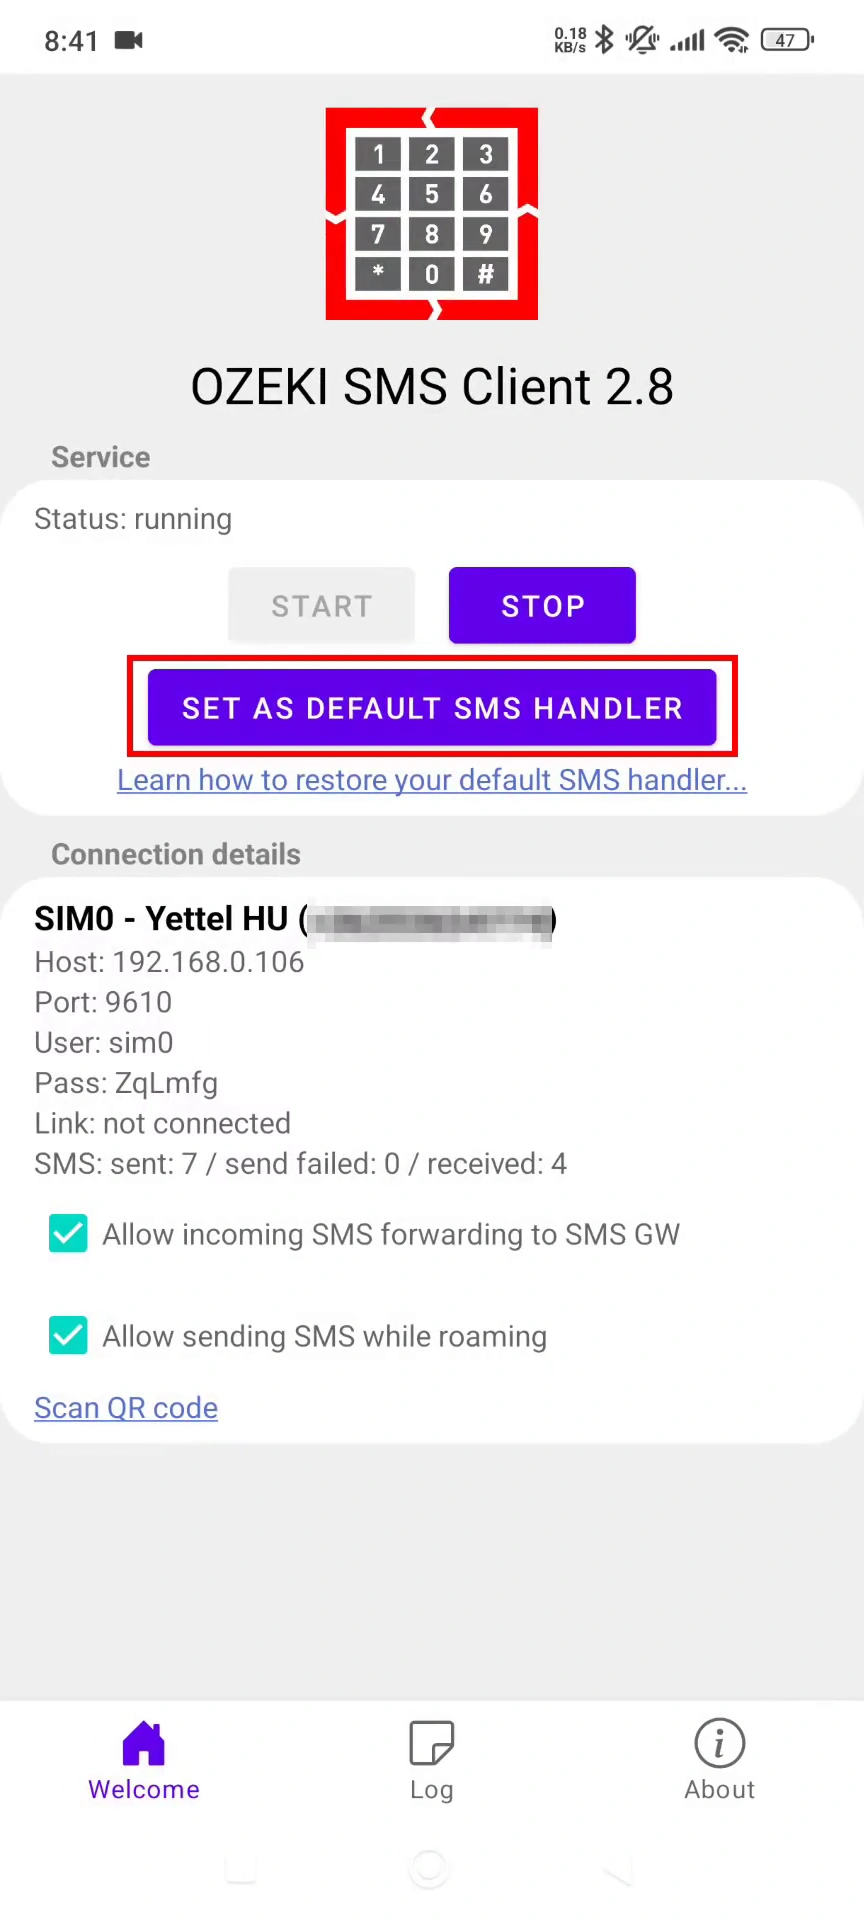
Open set as default SMS handler menu
Open set as default SMS handler menu. This allows you to assign Ozeki as the primary SMS app. Tap to open the list.
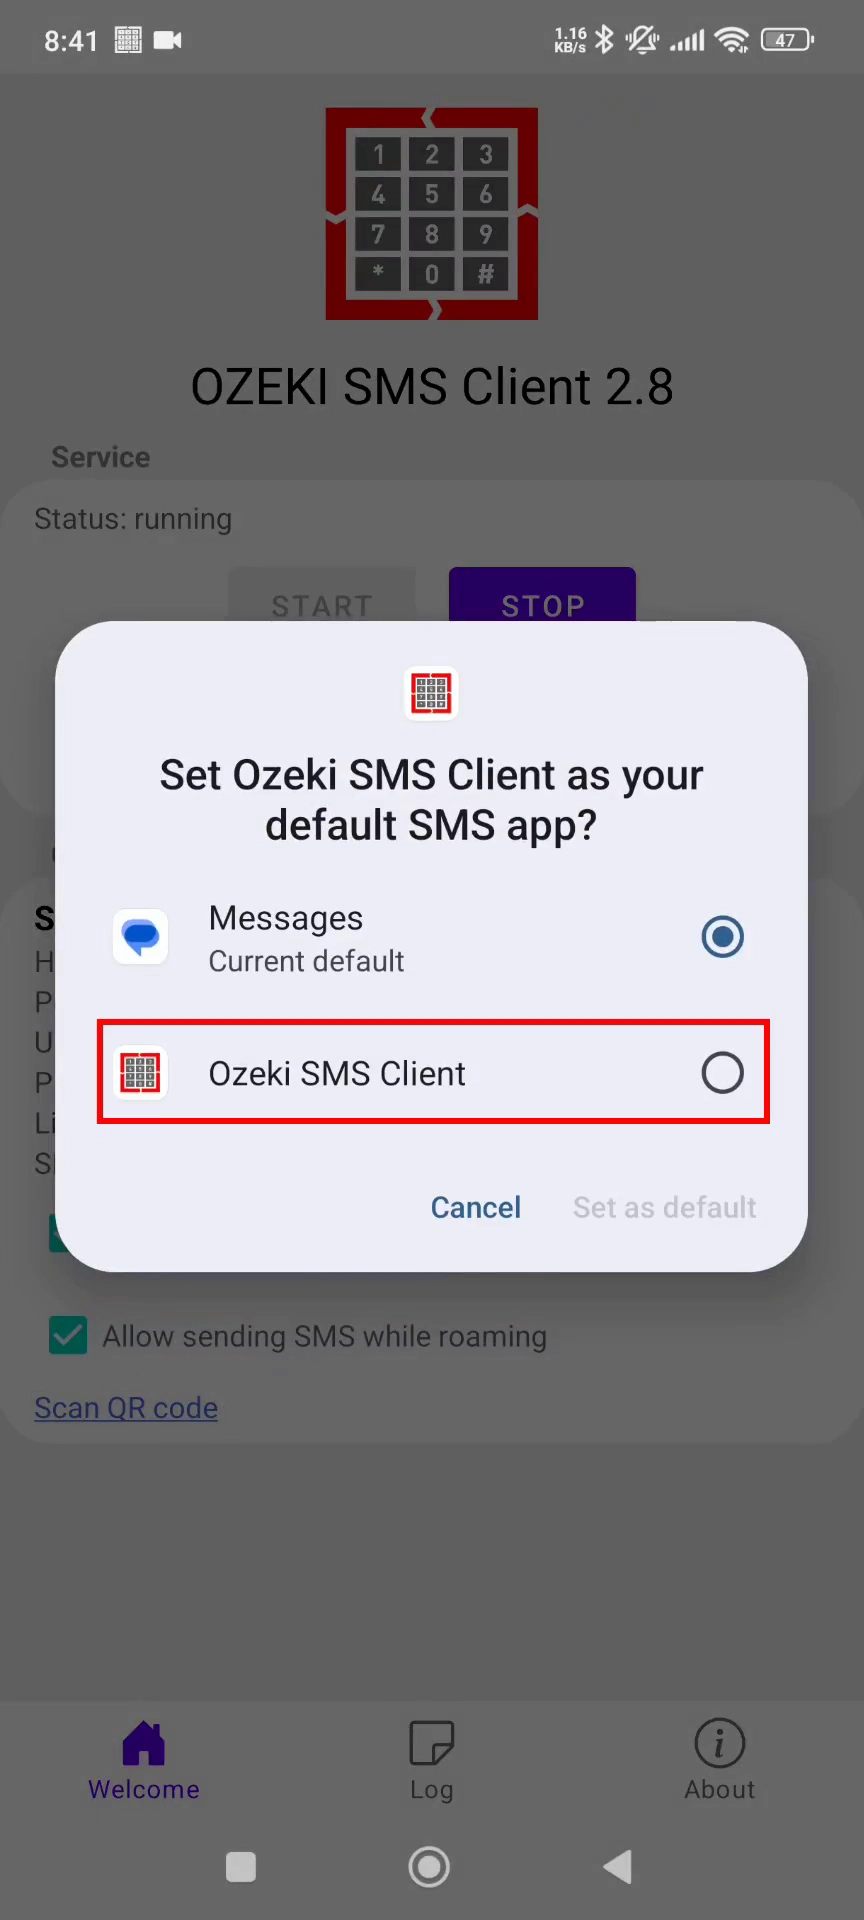
Select Ozeki SMS Client
From the available SMS apps, select "Ozeki SMS Client." This designates it as your default handler. Confirm the selection to continue.
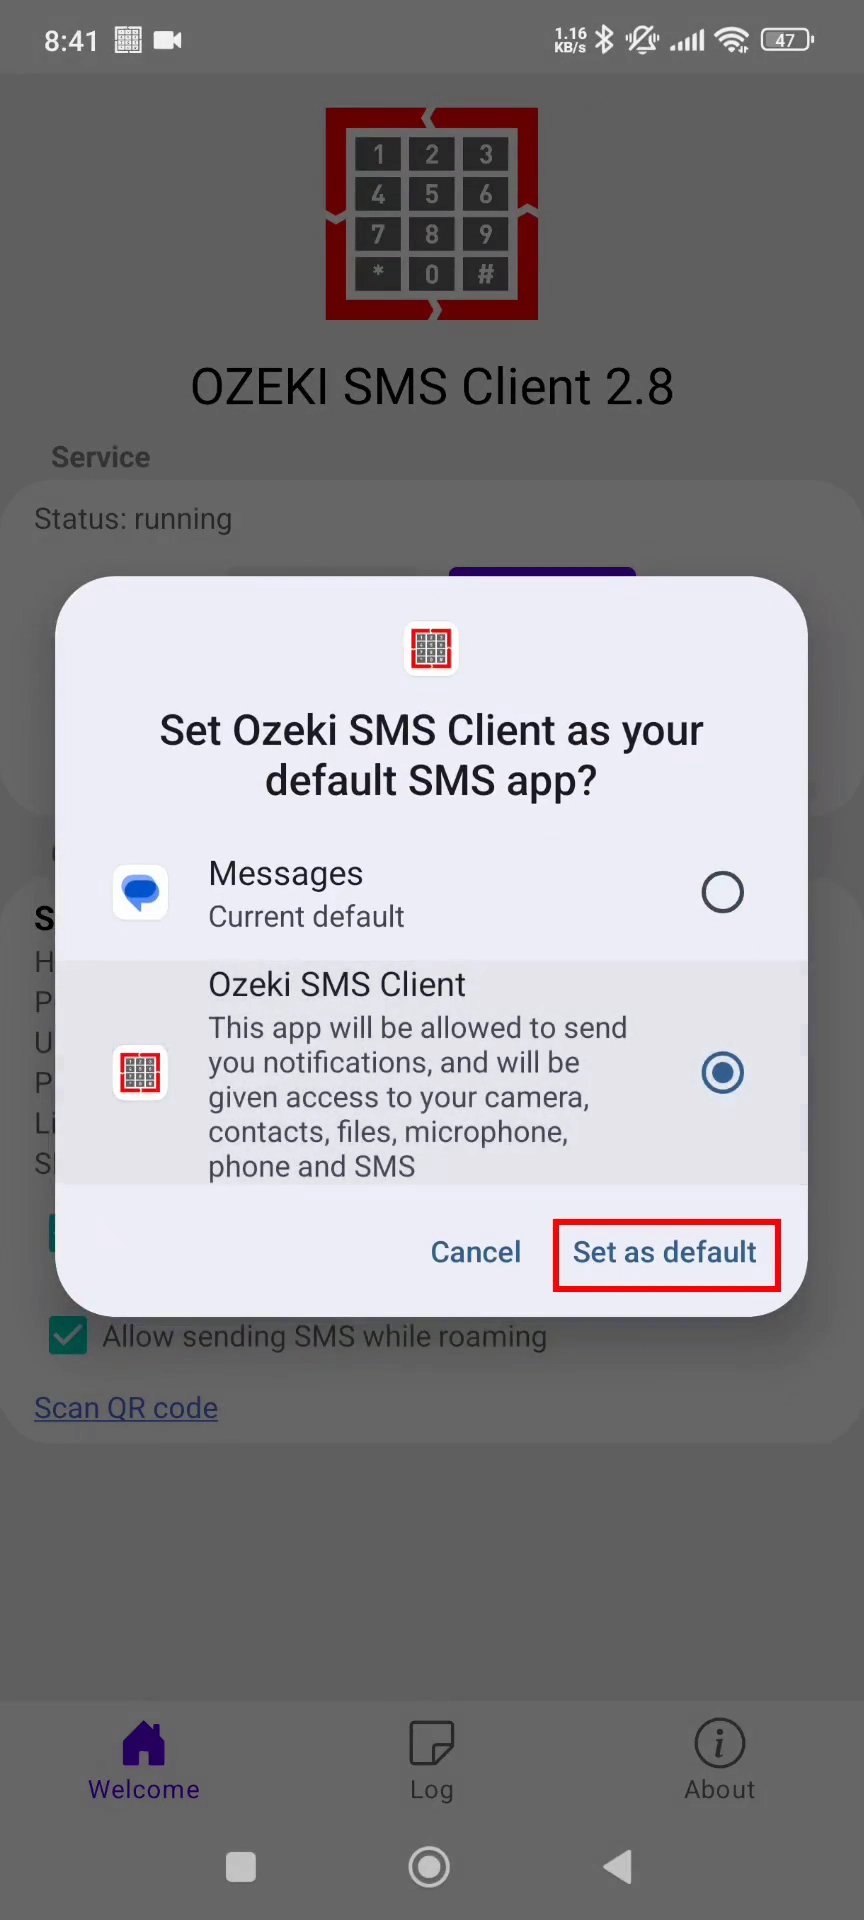
Set Ozeki SMS Client as default
Approve the prompt to finalize Ozeki as the default SMS app. This step is required for full functionality. Tap "Set as default."
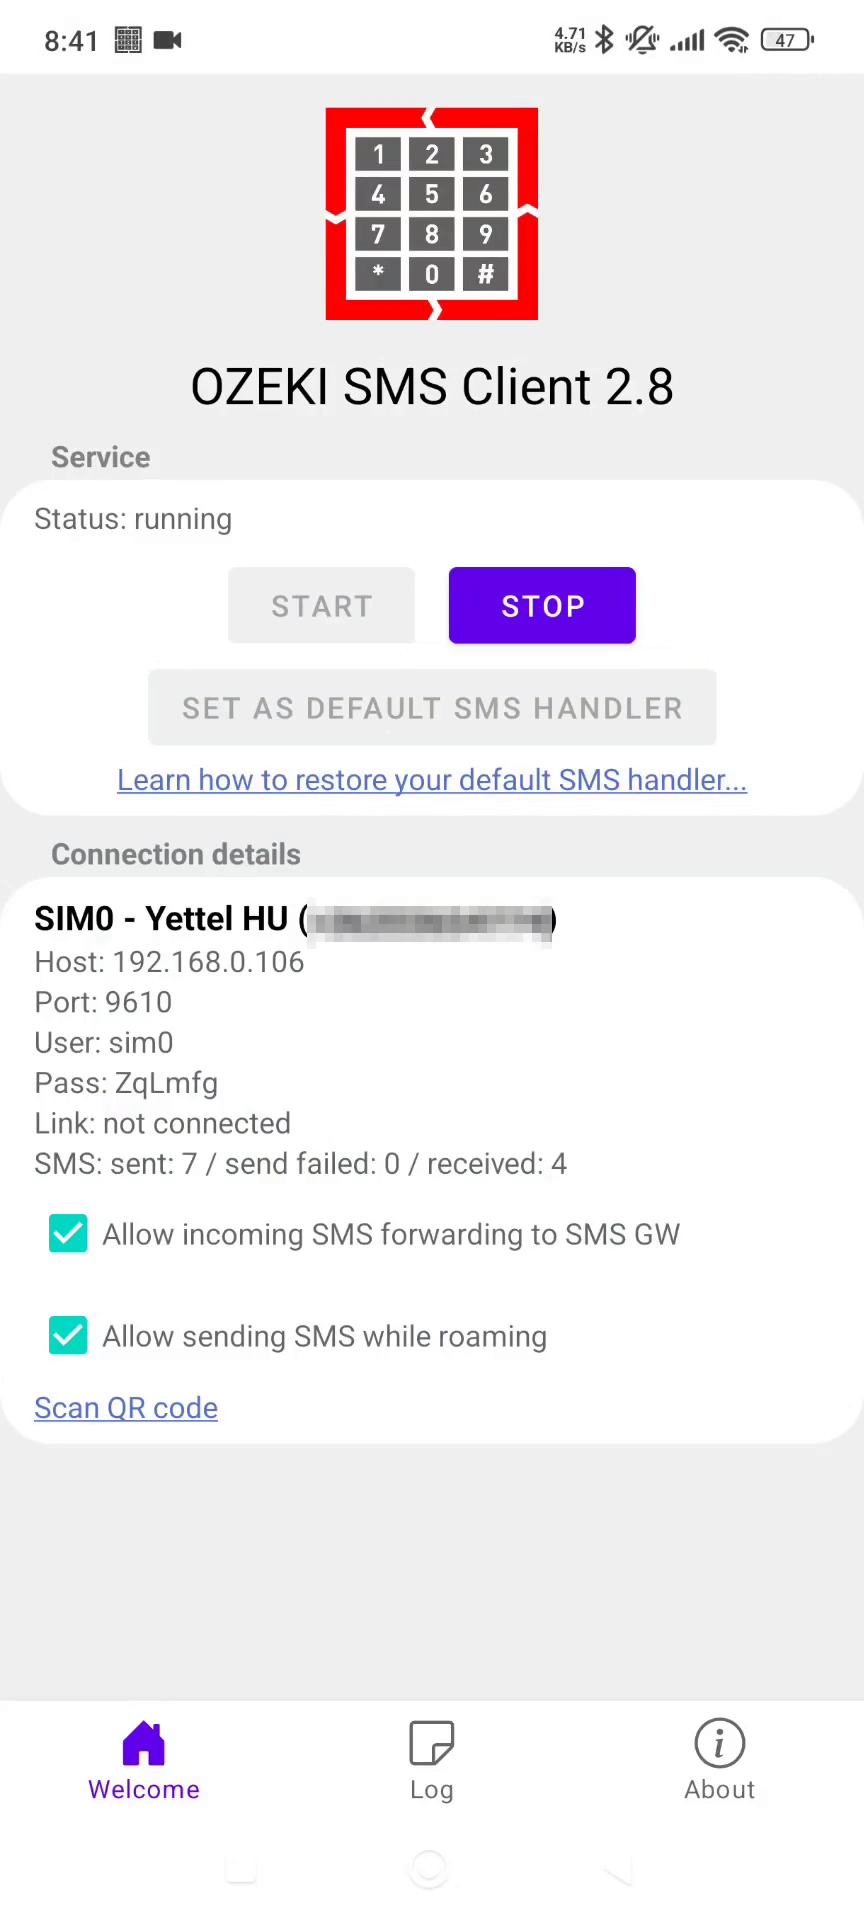
Ozeki SMS Client started
Once permissions and defaults are set, the Ozeki SMS Client launches successfully. You’re now ready to send and receive SMS messages. The setup is complete.